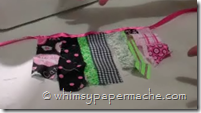
Our precious dolls are about 18 inches tall, with painted acrylic faces and soft yarn hair. The girls are all dressed in unique cotton fabrics that are not removable. They have cute added accessories such as their mismatched aprons and made with red hair, brown, black, blond and even wild mixes.
Today’s hand mate and tomorrow’s treasure!
Muslin
Thread & Needle
Sewing Machine
Straight pens
Scissors
Fabric
Tip: I suggest using scrap fabric or inexpensive fabric remnants to construct the doll. Mix and match the leg fabric and the body fabric for a whimsical doll, or shabby chic look.
What You Need 2 Know
To assemble your little rag do you will need to know basic sewing skills; if you are patience and don't mind the work you certainly could do it all by hand and would deserve more credit than me.
 I use a simple little Brother Machine 2600XL to sew my dolls because it is very easy to use and light weight. I move it on and off of my art table as I need with easy. Target sells them everyday at a low price $85.59, not bad I paid more several years ago.
Most importantly you will need to read and watch Painting Whimsical Cloth Doll Faces Using Paints; you will learn how to make the rag doll face so you can begin the steps provided here.
Refer to these articles for handmade hair and apron steps you will need to complete for your Rag Doll.
Making A Rag Doll Step By Step
Before reading your steps below please watch the video tutorial to understand everything that I try to convey. For me to show someone how to do something than write it all out is easier. I am going to give it a try but my gift is not teaching. I admire teachers.
Step 1
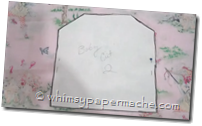 Pin each body part of the pattern to your fabric and cut them out. You will need to cut 2 for each leg and 2 for each arm.
To do this fold your fabric in half with the printed side facing each other and lay your pattern down. You will be cutting 2 at a time, just what you need.
Adding Sleeves
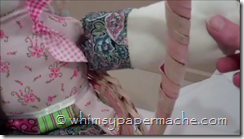
 You can break up the arm and add a sleeve by folding the arm pattern in half and cutting half muslin for the hand and half fabric for the sleeve. Then you will attach the hand and sleeve together to create one piece.
Step 2
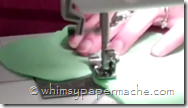
Sew the head and the body together but fold the side edge over just a bit an iron for a nice clean edge.
Tip: If you snip around your curves in the arms, head and feet, just a few spaced out cuts or some mini triangles, it helps pop out the curve when you turn the fabric the right way for stuffing.
Step 3
 Stuff your legs and arms with Polyester fiberfill and fill out the thumbs really good. After you stuff your stuff, you will sew the edge closed for easy sewing later.
Step 4
Attaching the arms and the legs is really quiet easy.
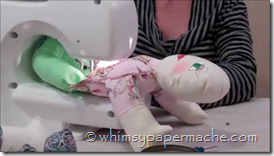
Lay your body and head down on the table and insert one arm under the shoulder and sew the side of the body down. Do this for both arms.
Insert one leg in the correct position and sew the bottom together only over the one leg. This will leave an opening for the other leg and stuffing of the head and the body. If you're not sure what to do at this point please watch the video.
Step 5
Now you're ready to stuff the head and the body of your rag doll. Take special care to her neck because it will require enough stuffing to support itself.
Once you have your doll stuffed insert the remaining leg and sew the bottom closed.
Step 6
Hands stitch her lovely handmade hair into place. I stitch her hair right in my center seam on her head to hide the stitches.
Rag Doll Finishing Touches
Wrap her in the whimsical handmade apron that you just happen to have thrown together.
I have provided the video links above for your convenience to help you create her hair and cool apron.
Awesome job, remember to tweak the pattern as you need. You can draw ideals from the dolls you already have or maybe one you want.
I hoped this article and video inspire you to create your own whimsical little rag doll to keep forever or give as a lovely gift to a special someone. I found it rather difficult to explain my steps, so please don’t hesitate to leave me questions.
Please join us on facebook page where you can upload photo of your own handmade rag dolls. You ideals and art tips are welcome and wanted I am always looking for better methods for everything.
I will be posting my current pattern within a few days. It is not ready.
Thanks for dropping by the whimsy's art studio on the internet.
© whimsypapermache.com
