Whimsy Paper Mache Fox Head
 This little Fox Head is a great project for anyone wanting to learn the basic steps of Paper Mache. Plus you have a cute fox taxidermy to hang anywhere in your home. Show off your new piece of art work.
Quick List
Recycled Newspaper
Masking Tape
Paints and Paint Brushes
Glue Gun (optional)
Paper Clay (optional)
H20 and Rags
Great for Beginners
You will need an estimated three to four days to complete your fox, drying your fox armature between stages will account for most of this.
Join me now as we walk step by step through the process of creating your armature, covering, and painting your brand new whimsical Paper Mache Fox Taxidermy.
Art Preparation for Your Armature
To begin you will prepare your paste and ready your strips.
Special Paste Recipe
1 Part Flour: 2 Part Water
Dash of salt (prevent molding)
You will mix the ingredients together, I usually use my hand for mixing because it is easy to smooch the chunks of flour and get this mixed into a nice soup.
Here is a link to our favorite paper mache paste recipe: http://www.youtube.com/watch?v=ghkblf-6ijI.
Build Your Fox Armature
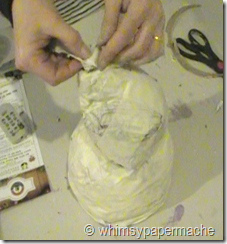
Wade up recycled newspaper to start forming your neck and head. I waded up about 3 inches of newspaper for the neck and taped it down to my disc. Make the neck narrower as you work toward the head. Form the head and tape to the neck. Shape a nose and tape to the head.
Cut to pointed ears, glue to the head, and cover your completed armature with a plastic bag.
Use masking tape to create the shape. Hot glue or tape your newly formed fox head to the backboard.
Paper Mache Your Armature
Make your paste and ripe your newspaper into wide and narrow strips for stripping.
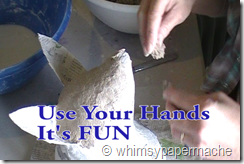
Start by getting your hands wet in the mache paste, rub your mache covered hands onto the armature and cover with the strips of wide paper.
Smooth this out with wet hands until the air bubbles are gone and continue in like matter until the Fox armature is cover with 3 layers of paper. Your last layer can be the narrow strips. Set this aside and let it completely dry.
 PAPER CLAY:I choose to cover my Fox with a 1/4 inch layer of paper clay for durability. Let the clay completely dry before painting.
OPTION: If you would rather continue using paper mache paste and strips cover your Fox with 4 or 5 more layers of paper mache and let it completely dry before painting.
Painting Your Fox
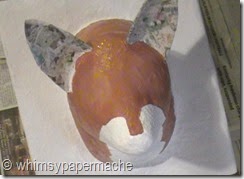
You can paint a white base coat on your Fox to create a white canvas. Paint your Fox a solid color or add faces, it is your little world.
 Your personality or your fox's personality can really shine through with the painting or any extras you add.
Awesome
You now have a good foundation of the beginning steps to creating paper mache art. I hope this video as sparked some creativity in you and you find that you have to make paper mache art. Thank you for stopping by the studio and have a great weekend.
© whimsypapermache.com
Stay connected with the studio:
Face Book Page: http://www.facebook.com/WhimsyArtist
Follow On Twitter: http://twitter.com/whimsymachegirl
Follow On Twitter: http://twitter.com/whimsymachegirl
