 Paper Mache Crucifixion Nails
How to create a lovely Easter display from card board boxes, newspaper, and simple paper mache paste.
Paper mache can be used to make just about anything your heart's desire.
Quick List
Cardboard box
Recycled Newspaper
Masking Tape
Brown Bag
Paints and Paint Brushes
Glue Gun (optional)
H20 and Rags
1 Creating a Crucifixion Nail Armature
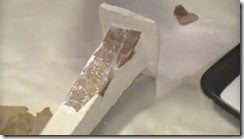
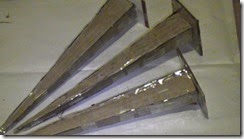 Grab your recycled cardboard draw out a long triangle, and cut out your triangle. Use this triangle to cut out a total of 12 long triangles. Each nail will take 4 triangles crucifixion nails. Cut 3 square tops for your nails. You can assemble all your pieces with tape or hot glue gun.
Cover your armatures with a plastic bag; this will help prevent the cardboard from warping. When using thick cardboard sometimes I leave off the plastic bag.
2 Paper Mache Strips and Paste
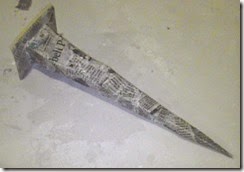 During your first stripping session cover the
armatures all over with 2 to 3 layers of paper mache strips dipped in your easy
paper mache paste. Work out all the air bubbles and lay flat against your nail
armatures.
Your nail armature must be completely dried before adding more clay
or wet paper mache strips.
Clay or
More Paper Mache
Paper Mache:
Cover with 8
to 9 more layers of paper mache strips and let it completely dry before moving
on to your next step. If your Crucifixion Nails are not strong enough add more
strips and let those completely dry.
After each session of paper mache your
armature must completely dry before moving to your next step. Quick Link to
Paper Mache Paste Recipe: http://goo.gl/BH5lgM
Paper Clay: Cover the entire Crucifixion Nails with 1/4
inch layer of paper clay and let that completely dry before painting. Paper
Clay Recipe: http://goo.gl/xoTFbJ
Question: Can I skip the paper mache and put paper clay directly
onto my armature?
Answer: Yes, if your armature can support the weight of the
paper clay without the support of the paper mache strips and paste.
If you need once the Crucifixion Nails have dried
you can lightly sand with sandpaper and wipe off before painting.
We choose to finish our nails with brown bag
torn into small pieces then decoupage onto the nail, working out all air
bubbles. Covering the entire nail with 2 layers then letting it completely dry.
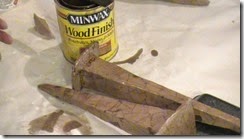
You can brush and wipe off Minwax stain onto
the nail to darken all the details and then let it dry. Refer to your stain can
instructions.
Seal your paper mache and paper clay pieces
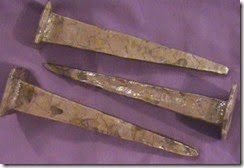
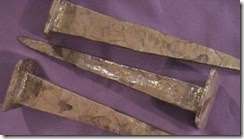
with varnish for protection. I applied 3 coats of Polycrylic Minwax Clear Gloss
to protect the nails.
Varnish also comes in a spray can in gloss or
stain, spray on 3 to 4 coats and let it dry.
Summary
I hope you have been inspired to create
something wonderful out of PAPER MACHE today.
To learn
more about Jesus Christ Crucifixion and the importance of the Crucifixion Nails
you can follow this link. Joyce's' easy
how to Know Jesus and how much He loves you: http://goo.gl/zvtAEg
We would love to hear from you at the studio,
please leave your AWESOME suggestions and comments below. Thank you.
© WHIMSYPAPERMACHE.COM 2015
