 I will show you how easy it is to make a screen print using the simple stencil technique.
This technique can then be used to screen print on a T-Shirt or whatever.
I have already created my stencil on my yellow vinyl sheet and begin my demo starting there.
How to Screen Print Using the Stencil Technique
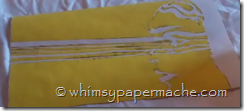 I use the Scratch Art Mask Ease from Blick Art to create my stencil for this video demonstration. I like to use the Mask for my stencils, and Mrs. Luttweiler has a stash in the studio. Each set contains one yellow vinyl sheet with adhesive and liner, and one polypropylene sheet with adhesive and liner. Instructions are included. The transfer sheet is a very sticky and if there are loose pieces in the stencil you have to be careful that they do not come off when pulling the transfer sheet off.
I suggest starting with a basic image to get the feel for stenciling if you are just starting out.
Silk Screen Frame
Scratch-Art Mask-Ease
Squeegee
Screen Printing Ink
Spatulas or Palette Knife
Blick offers Speedball screening printing Kit starting around $46.
I will be printing onto paper for my demo but you can screen print onto a variety of surfaces paper, walls, and fabric; T-shirts.
1. Draw and cut out stencil.
Start by selecting an image and transferring that to your yellow plastic sheeting.
 Using any cutting blade cut your stencil out. The spaces that you cut out and remove will provide the windows for the ink.
Your paper will come with instructions and Blick offers several tutorial videos online that are fabulous.
2. Prepare Your Stencil
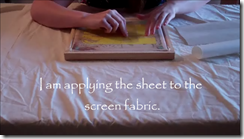
3. Transfer clear sticker onto silk screen with your fingers or squeegees.
Make Sure It Is Secure
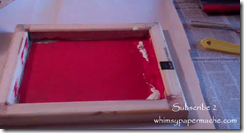
Mount your stencil to the back of your screen frame. Make sure this is secure and will not move around, it is important to keep the ink from getting under the stencil. I want a border so I will not be taping mine all the way across.
Working with words or numbers you will work a little different.
3. Center the image onto the area you would like to print and start applying your ink. Watch my video demo for a visual demo for each step here.
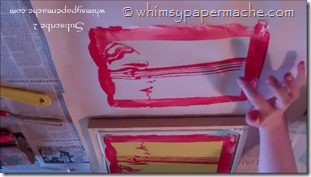
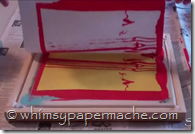
Select ink and apply a bead of ink across one side of screen, fill the entire area. Make sure you push the ink through the screen onto your surface, pass over it several times with your squeegee.
That's it, now you're ready to start your own screen printing business. I use what information that you can and leave the rest for someone else. Thanks for stopping by the studio; it is truly our pleasure to have you visit.
Subscribe 2 whimsypapermache.com for up coming studio demonstrations.
© whimsypapermache.com 2012

